

There is just something about kids in grade two. They are so inquisitive and full of wonder. Kids this age go bananas for science experiments, and they are always ready to “take chances, make mistakes, and get messy!” (Ms. Frizzle, anyone?) With a little bit of structure, science projects and guided inquiry can make the best learning experiences. I find that science lessons for grade two are SO much fun, and hands-on lessons are the best ones! Take a look at some of my absolute favorite science activities for grade 2.
Text: Science Lessons for Grade Two
Image: Four students complete a volcano science experiment
WHAT ARE THE TOPICS IN GRADE 2 SCIENCE?
In BC, our science curriculum is mainly guided by the BC big ideas. The BC Big ideas for Grade 2 science are:
Living things have life cycles adapted to their environment
Materials can be changed through physical and chemical processes.
Forces influence the motion of an object.
Water is essential to all living things, and it cycles through the environment.
When teaching these as topics, I teach these ideas in 4 different units: Life Cycles of Living Things, Chemical & Physical Changes, Force and Motion, and The Water Cycle! To read an in-depth post on each topic be sure to click through.

Everything You Need to Teach Grade 2 Science
A complete unit for every single grade 2 science outcome in BC.
Force and Motion, The Water Cycle, Life Cycles, and Chemical & Physical Changes
Lesson plans, vocabulary, projects, experiments, activities, and more!
Click and print. Planning is really that easy.
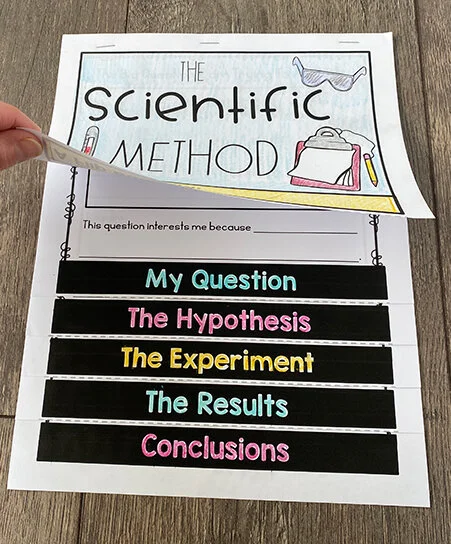
Teach the scientific method
We always start with the scientific method in grade two. I think that it provides a great framework for almost everything we learn in science. When students understand the steps of the scientific method, they are ready to participate in our science experiments with greater understanding and independence.
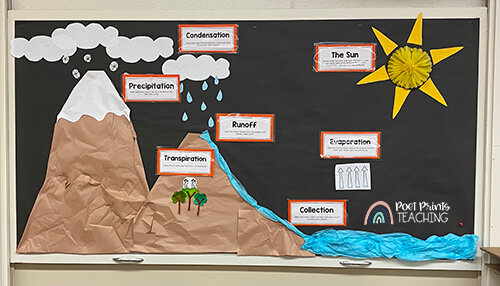
Teaching The Water Cycle

Water Cycle Lessons For Grade 2
The water cycle is one of the best units to integrate into a greater study of our planet and how we are consuming natural resources. I love using water cycle picture books to help students gain a greater understanding of why water is such a valuable natural resource, and why it is important to conserve it. The water cycle is also such a great unit to integrate a few project-based learning activities and start students on small inquiry-based learning projects. In this unit, we work together to explore the question Why is water important?
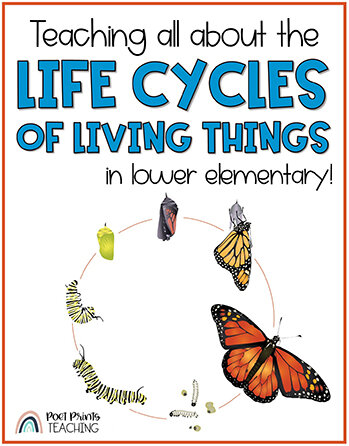
Life Cycles of Animals and Plants

Engaging ways to teach all about the life cycles of living things in lower elementary. A butterfly life cycle is pictured.
Teaching about plants and animals is always a hit in grade two because kids love animals. And growing things. And hands-on learning. Actually, I don’t think I’ve found a science unit that my students don’t love… but learning about plants and animals is definitely one of their favorites. Getting to grow bean plants in the classroom is always one of the best parts of second (or third!) grade. We head outside for so much of this unit because it’s so easy to actually observe life cycles in action!
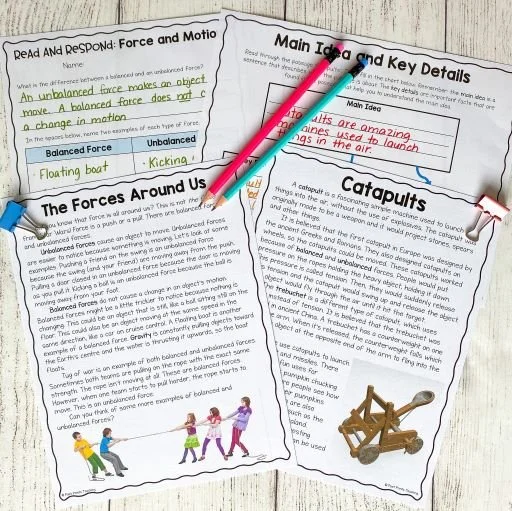
Force and Motion Activities for Kids

Force and Motion lesson ideas
When you think about teaching force and motion in grade two, you should definitely be thinking ‘STEM Challenge’ because this topic is perfect for that. Once we have front-loaded with some vocabulary (so students are stumped when they encounter it later) we learn about force and motion by getting out there and having fun! These force and motion videos and activities are the perfect grade two science lessons.
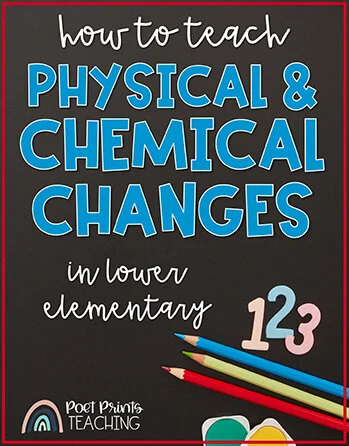
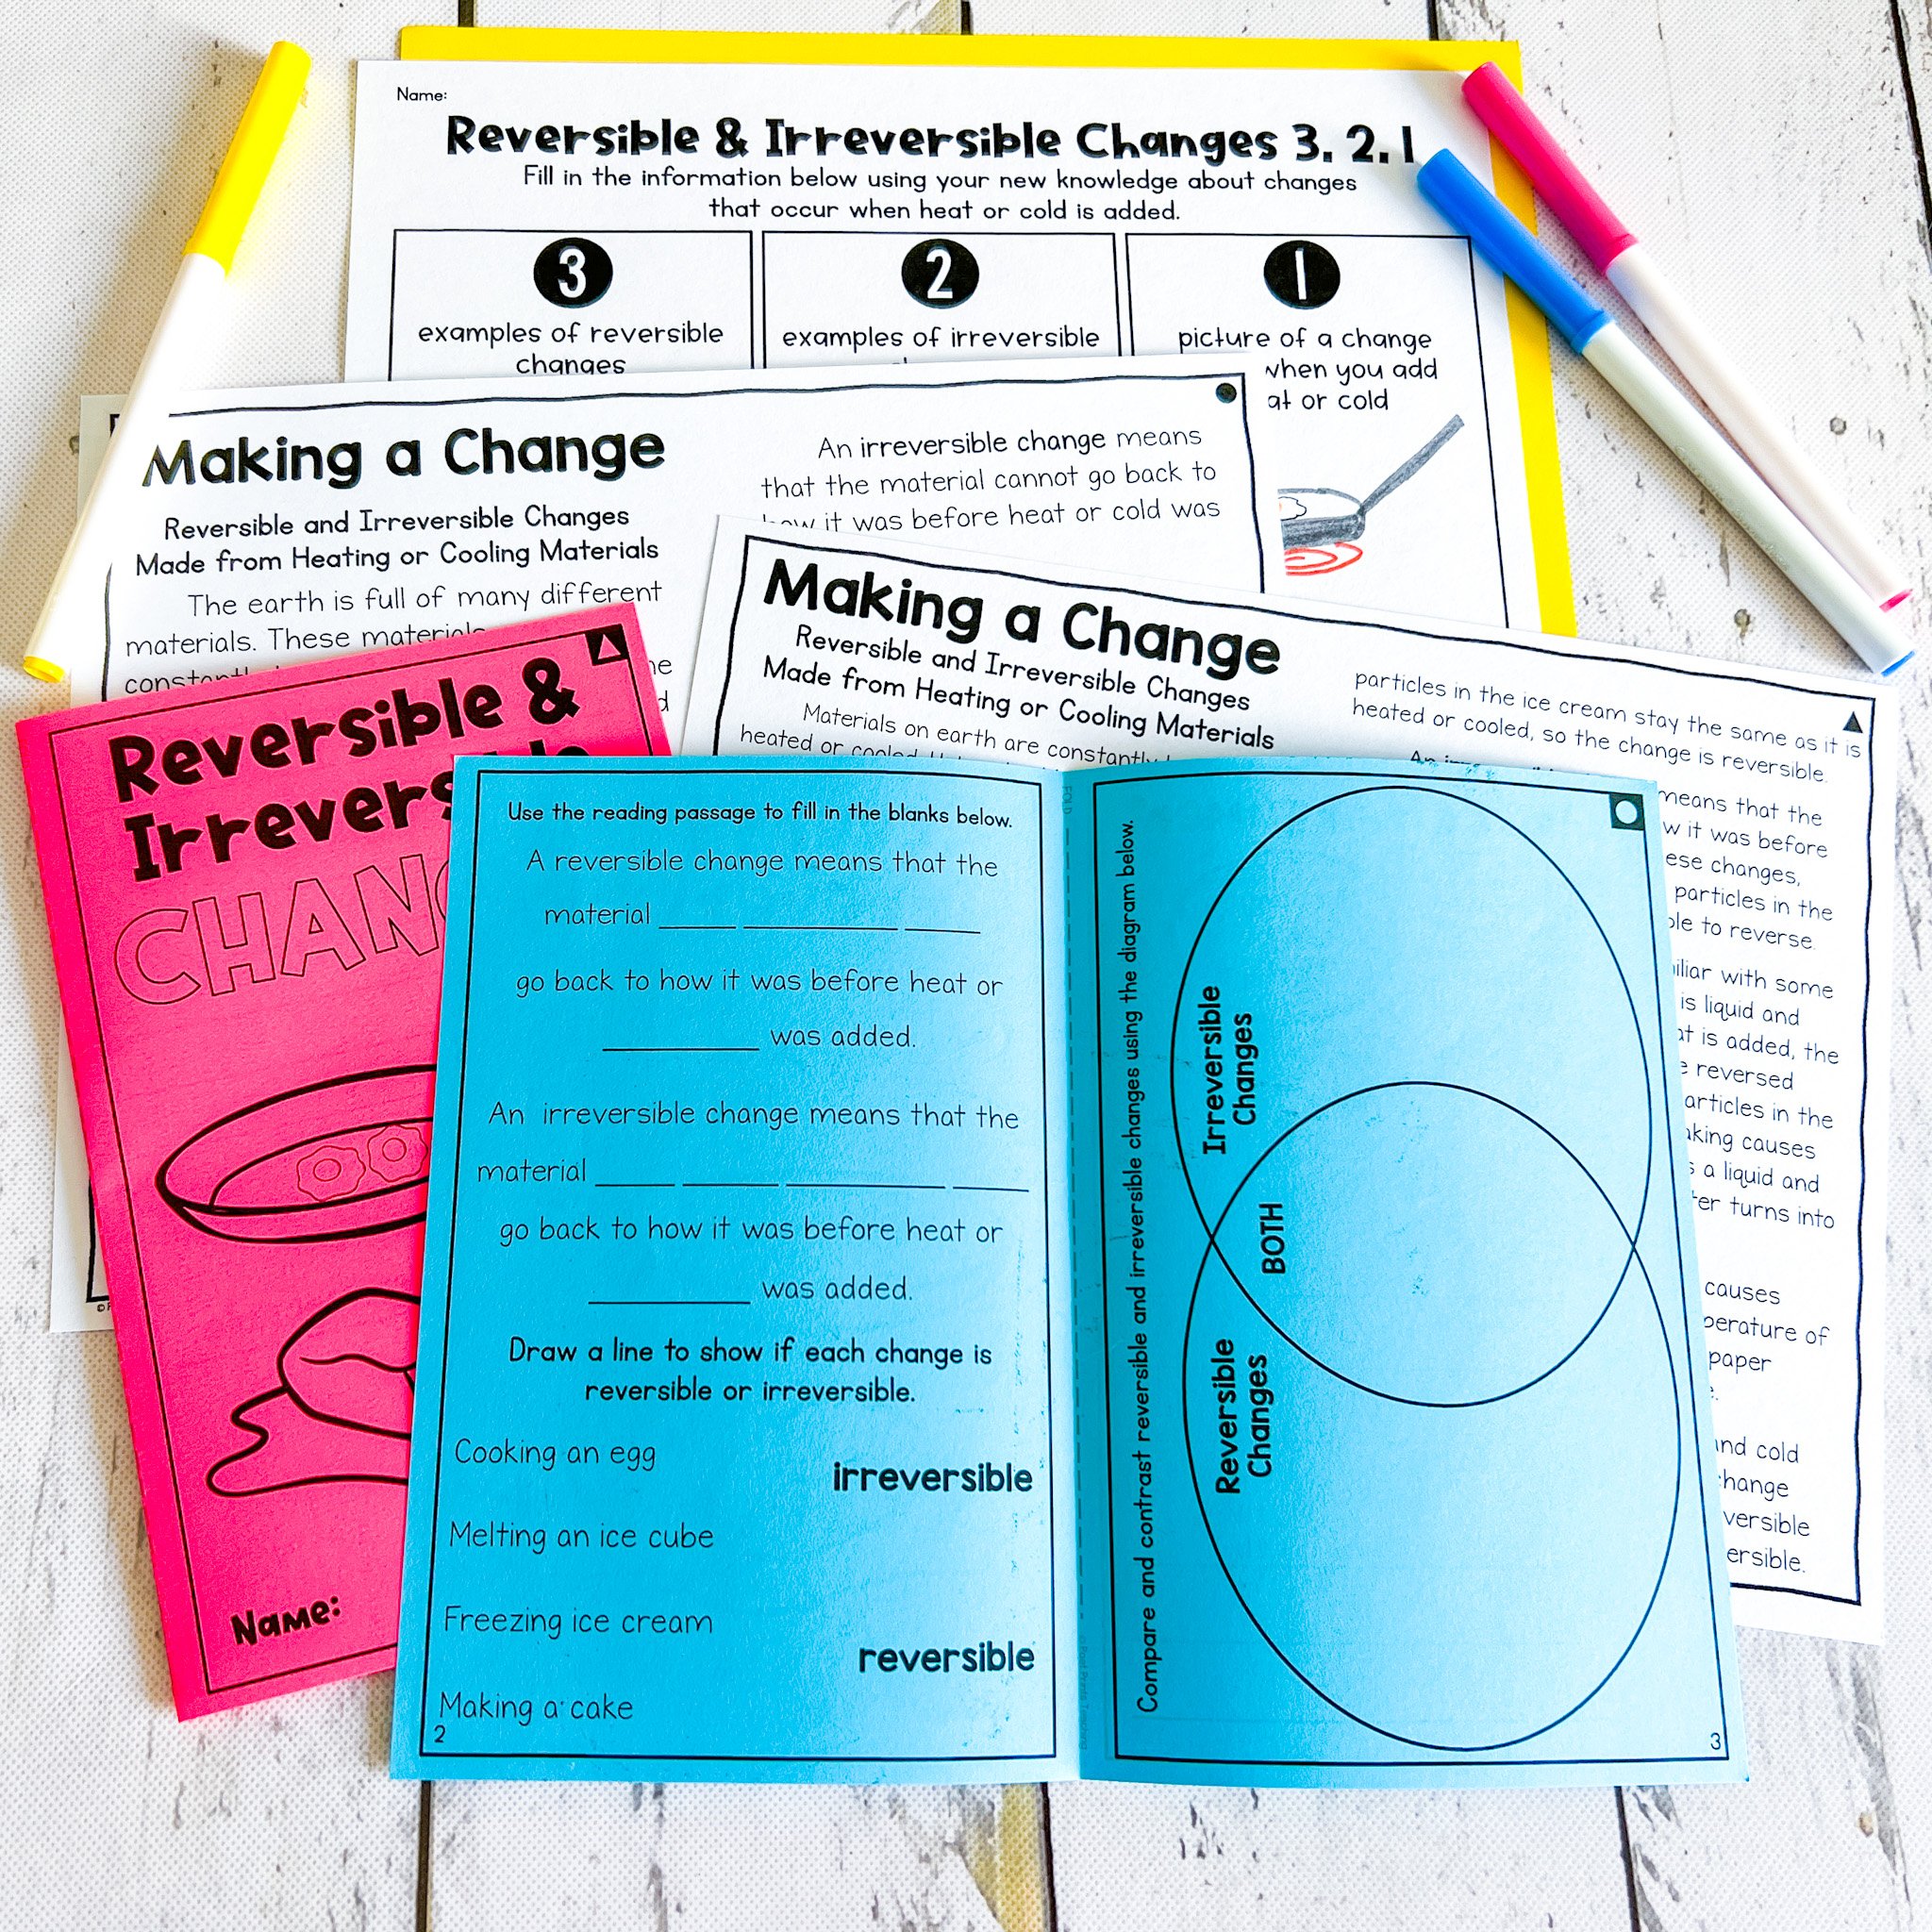
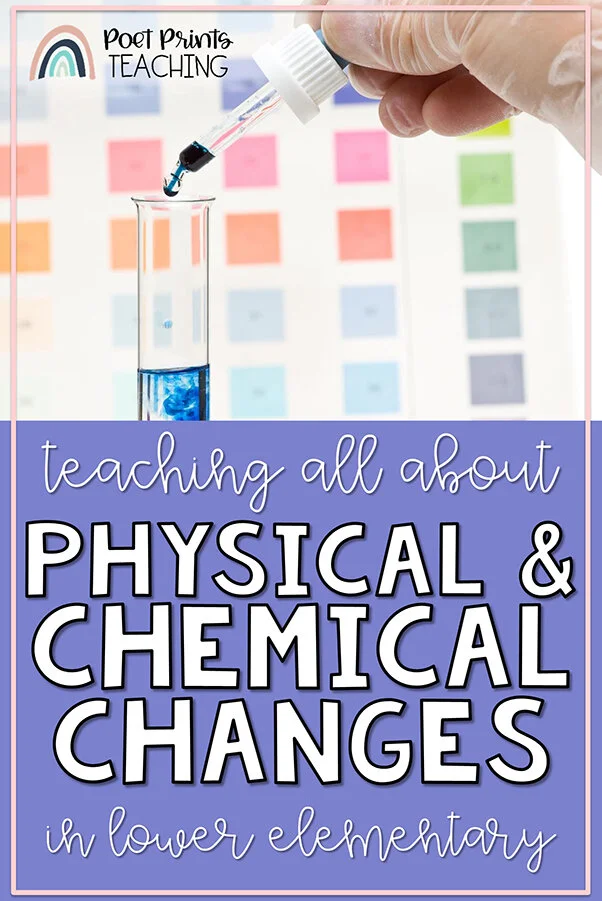
Physical and Chemical Changes

We learn about chemical and physical changes in grade two, which can be such a tricky one! Essentially, students are trying to answer the question, “Can this change be reversed?” Thankfully, hands-on science experiments come to the rescue! After a few teacher-led lessons, this unit is almost completely hands-on. I set up 5-7 science stations around the room and students conduct science experiments to determine if a chemical or physical change has occurred. It is SO much fun!