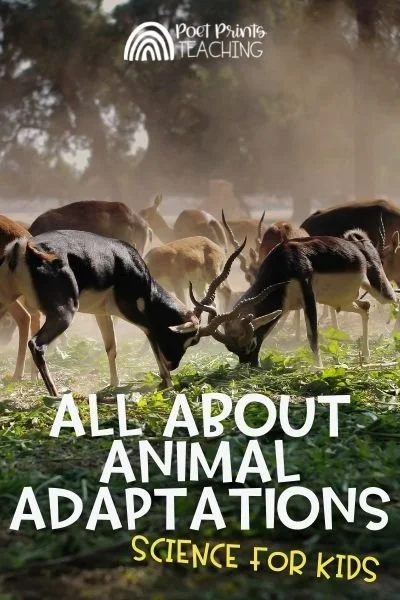

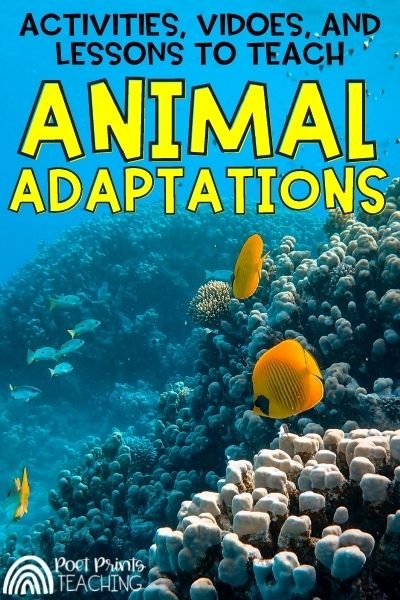
There’s something about animals and plants that fascinates children (and adults). We love watching how things grow and change throughout their lives. So I’ve always enjoyed teaching about animal adaptations. Teaching children about how animals can survive because of their adaptations is engaging and fun for students. There are some great activities to help students learn about animal adaptations.
What are examples of animal adaptations?
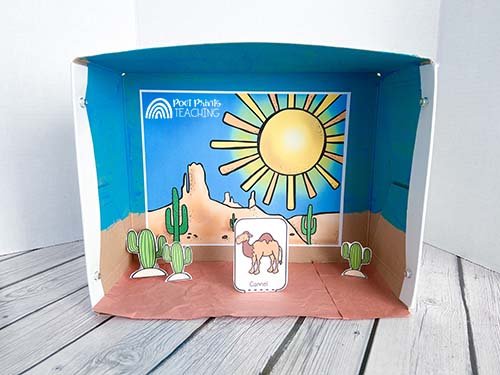
An adaptation is a characteristic that helps animals survive in their environment. Some examples of adaptations would be camouflage to help animals high from predators. A specific diet and the amount of water the animal needs are also adaptations. For example, a camel has a hump to store water, but an amphibian would not survive without water.
Animal Adaptation Videos
Having YouTube clips on hand during science is a must-have for me. So here are some good go-to clips about animal adaptations:
https://www.youtube.com/watch?v=m2MibjJgyjs - This video explains what the term “adaptation” means in terms of a child’s life, such as adapting to a new time zone or adapting to a new house. Then the video goes on to explain the three types of animal adaptations: behavioral, physical and lifecycle.
https://www.youtube.com/watch?v=a85lHqFhyw4 - This is a short virtual field trip all about animal adaptations. Your students will get to see mammals, birds, reptiles and invertebrates. Each of the animals in the video has adaptations that help them survive.
https://www.youtube.com/watch?v=YOIRci0CKzg - Here’s a video all about camouflage!
There are a ton of great videos on animal adaptations. The ones listed above are just scratching the surface!
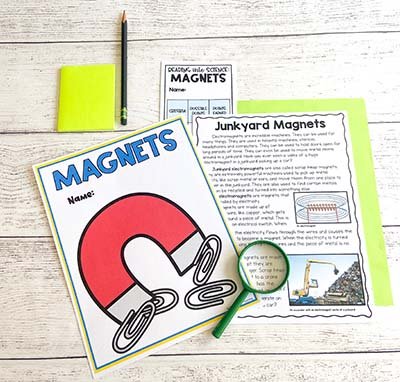
adaptations science project
This adaptations science project is a part of these ‘Animal Adaptations’ lessons.
I love giving my students opportunities to use their creativity and critical thinking skills. Have students research an animal of their choice. Then they have to create a diorama to show how their animal adapts to its environment.
After creating their diorama, have them use critical thinking skills to examine if their animal would survive somewhere else. Have the student place their animal in another student’s diorama to think about how their animal would survive in a different environment.
For example, if a student created a diorama for a clownfish, would that clownfish be able to survive in the ocean trench diorama? Would the amphibian be able to survive in the desert diorama?

Teach Animal Adaptations Today!
Looking for an easy way to plan out some animal adaptations lessons that already includes paired nonfiction passages and the science project seen above?
In just a few clicks you can grab all of the pieces you need: lesson plans, paired passages, reading comprehension, key reading skills, and a hands-on science project.
Click and print. Planning is really that easy.
explore local animals
Take a look at some local animals to explore how they are adapted to survive. There is also an amazing Magic School Bus episode all about how animals survive in the city. It’s called “In the City”. Here’s a link to it on YouTube! (please let me know if it stops working or the video gets pulled down).
Try taking a walk around your school ground to notice plants that are adapted to where you are right now!
Reading about Animal Adaptations
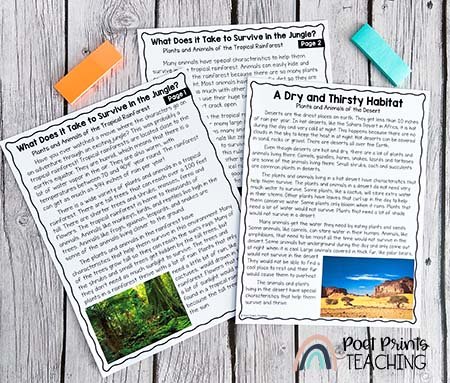
Informational text passages that focus on animal and plant adaptations in two distinct habitats.
There is a hilarious series by Sandra Markle and Howard McWilliam called “What if You had?” Each book deals with a different animal adaptation. For example, “What if you had an Animal Tongue?” or “What if you had Animal Hair?” The books delve into information about how these features help different animals around the world. Click here to see the books on amazon (it’s not an affiliate link, I’m not that cool!)
These passages about animal and plant adaptations are great if you’re looking for student-level informational text that you can print and use today. Each passage explores how plants and animals are uniquely adapted to their own environments.
Looking for more blogs about 3rd Grade Science? I have a post for every single 3rd Grade Next Generation Science Standard. See the whole 3rd grade science series here!
There are so many fun things to do while teaching our students about animal adaptations. Many children love learning about animals, so lessons about animal adaptations naturally lend themselves to wonder and curiosity.