

Teaching all about landforms is a big part of our grade three science curriculum here in British Columbia. It’s one of my favorite units because it’s a topic that lends itself well to outdoor and interactive learning. I try to ensure that teaching landforms is as hands-on as possible: we head outside to explore our own local landforms and we make as many student-led projects as possible! A few things happen in my classroom to make a landforms science unit successful at the second and third-grade level… take a peek!

Text: Science Lessons About Landforms for 3rd and 4th Grades Image: Text is displayed over an ocean landscape.
Keep It Local

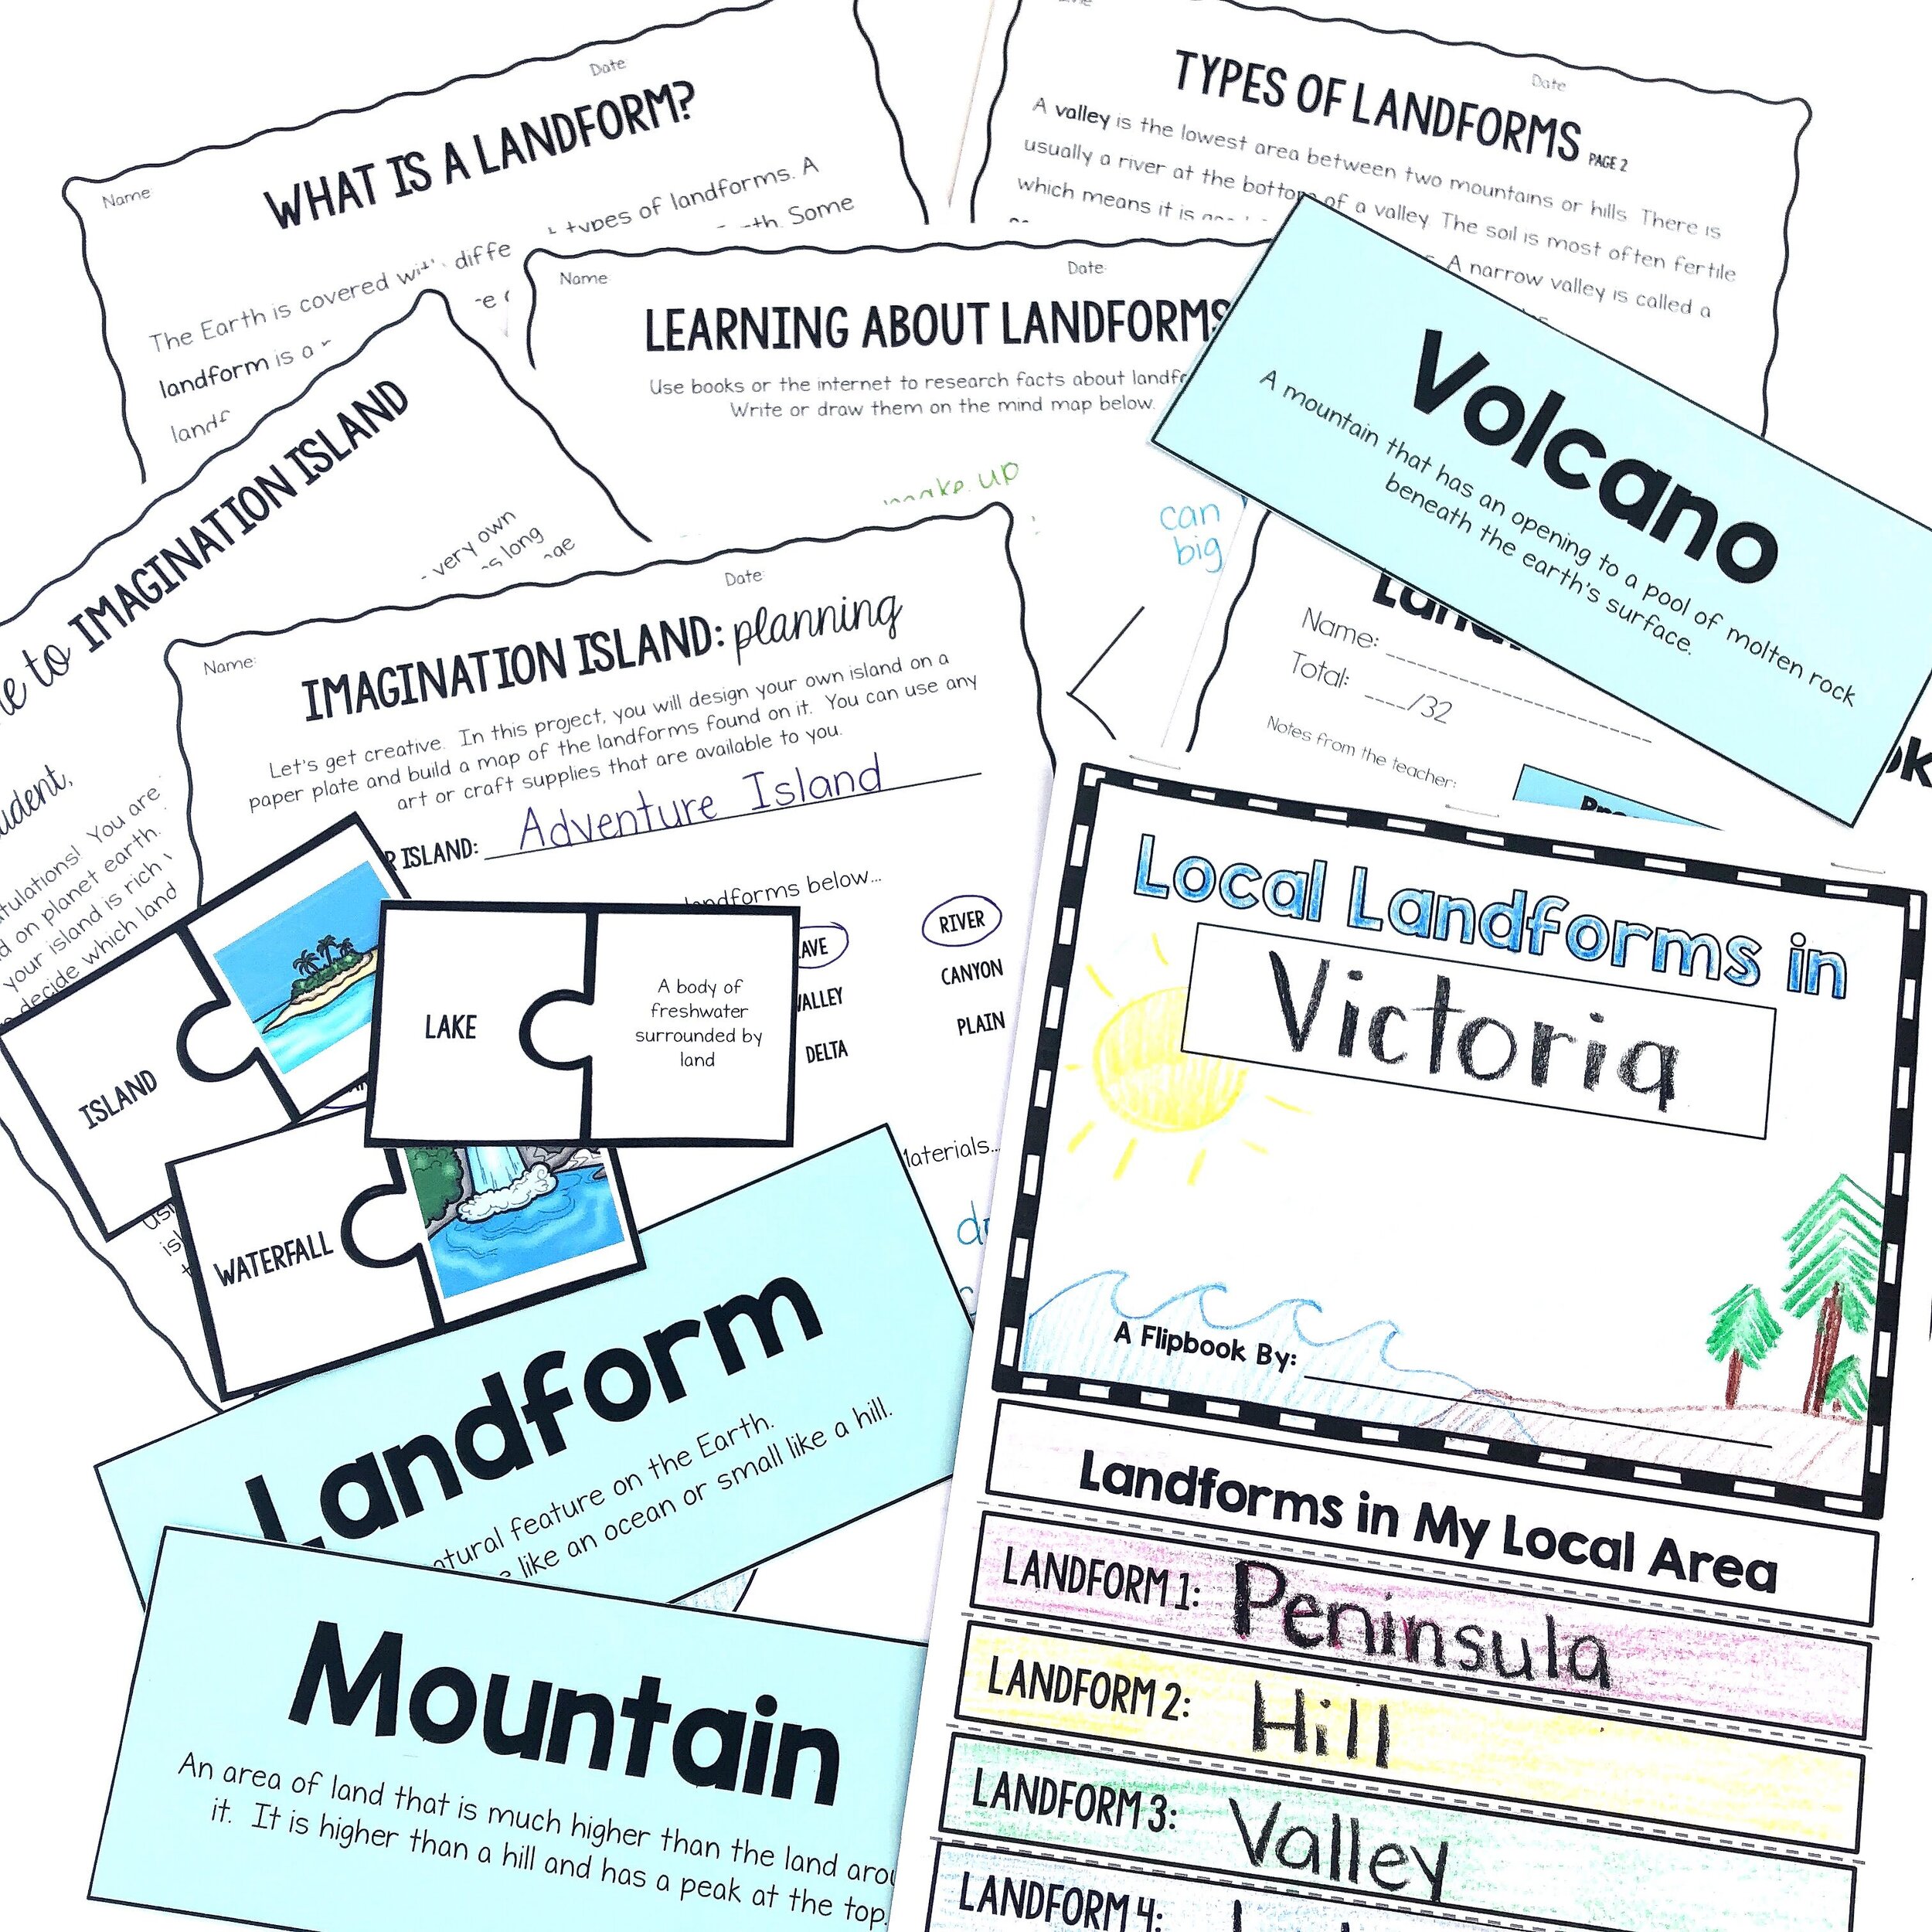
A ‘local landforms’ anchor chart.
Teaching about landforms doesn’t have to be theoretical… there are landforms all around us! I’ve found that teaching about our own LOCAL landforms is the best way to hook students in and keep them invested in the unit as a whole. (We did this in our biodiversity, water cycle, and plants units as well). We try to make as many connections as possible to places and locations that are familiar to them. Even better if we can visit some of these places during our unit!
Pre-Teach Vocab
I know… I know… I’m starting to sound repetitive on this one, but my ‘secret sauce’ to successful science is to pre-teach new vocabulary before we really dive in to a new unit. That means starting with a few lessons on landform vocabulary. I’ll set up vocabulary words around the classroom and we will do a ‘vocabulary hunt’ where students can search for definitions. We might also set up a vocabulary ‘memory game’ where the vocabulary words and definitions are placed face down on the carpet and are flipped face up one at a time, just like the traditional ‘memory’ card game. These activities help new words to become familiar enough before we really dig into our science lessons.
Get Outside and Get Observing
You will be able to find at least one landform example on your school grounds… so find it, sketch it, and label it! Our school was ON an island, with a view of a mountain… two landforms in one!
Nothing to observe? The outdoors is the perfect place to create a sketch of what a landform might look like on blank paper. Sketch an island! Draw a picture of a the place where a river meets a lake (this is called a delta). If possible, I like to teach most of this unit from outside of the classroom.
Explore Local Landforms In Depth

Our ‘Local Landforms’ flipbook project.
More local landforms? Shocking! But I really do believe in making local connections to the curriculum wherever possible. We ended our landforms unit with a flipbook project that asked students to think about all of the local versions of as many landforms as we could think of. A local lake, a local waterfall, a local valley, a local desert, a local cave, a local ocean, etc. It was neat to watch them make connections to places they had all been or heard about. We also used our classroom devices to research places to help fill gaps for students who hadn’t had firsthand experience with each place and to add facts and details about each location. I, personally, had never been to a local waterfall, so this research component was helpful for me as well!
Let me plan your landforms unit!
Looking for a whole unit? The complete landforms science unit features nonfiction reading passages, vocabulary, teacher-led lessons, FUN activities, project-based learning, and detailed lesson plans all along the way. Let me take this off your plate!
Pin me to save these ideas for later!