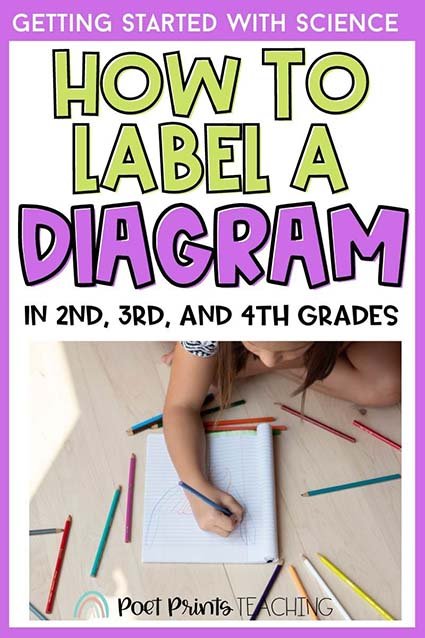
How to Label a Scientific Diagram for Kids
In Science, we have the opportunity to teach our students many things: how to conduct an experiment using the scientific method, how to research, how to make hypotheses, and how to form scientific questions. Another thing we have the opportunity to teach is how to properly create and label a scientific diagram. There are many opportunities to use scientific diagrams in 2nd, 3rd and 4th grade, so let’s set our students up for success and teach them how to properly create a scientific diagram.
SO much of science needs a diagram to help illustrate an idea. You might need to create a proper diagram in situations like…
Learning life cycles of animals and plants
Illustrating the water cycle
Completing a STEM activities
Labeling diagrams about animals or plants
Creating a diagram is such an important skill to teach at the beginning of the year so that students are ready to add more details as the year progresses.
Why do we need to teach students to create diagrams for science?
Explicitly teaching our students different skills in science is important because not everything will come intuitively. Science involves accurate observations and this can be tricky to capture in a diagram, so it’s best that we teach our students how to create diagrams so they know exactly what the expectations are.
What Should a Scientific Diagram Include?
There are a few key components of a scientific diagram. You will need:
A title at the top center of the page with a description of what is in the drawing.
For example, if you are drawing a pumpkin seed, do not simply write “Seed”, write “Pumpkin Seed”. If you are drawing a picture of the Water Cycle, do not write “Water” write “Water Cycle”
A clear, colored picture of the item
Labels and annotations
Generally, the labels go on the right-hand side of the diagram, but there can be exceptions to this rule
Label lines without arrows
Make sure to use a ruler when creating your label lines so all the lines are straight
The lines should not cross over each other
Scale
This is if you are drawing something larger than it is in real life (if you want to get really fancy with your elementary school students)
facts vs. opinions
Knowing the difference between a fact and an opinion can really help with creating a diagram.“The plant looks pretty” is an opinion. This isn’t something that we can measure and it might change from person to person.
qualitative vs. quantitative observations

Types of Observations reference guide - available as a free download on this page.
One of the first steps is to teach our students the difference between qualitative and quantitative observations. Qualitative observations and things that we use our senses to observe.
The coffee feels hot. The coffee is dark brown. The coffee tastes bitter.
These are things we use the senses to observe.
Quantitative, on the other hand, are observations that include numerical measurements.
There are 10 ounces of coffee in the mug. The coffee is 195F degrees.
Teaching Qualitative Observations
When teaching qualitative observations, it’s time to do a solid review of the five senses. I love making popcorn when reviewing the senses because making popcorn involves all the senses: smell, sight, hearing, touch and taste! But we also need to get more specific when teaching about qualitative observations. Here are some things we can teach:
Texture
Shape
Color
Temperature (If you are describing temperature using adjectives like hot and cold, and not describing it using a thermometer number)
Teaching Quantitative Observations (Numerical Measurements)
This is where measuring skills really come in handy. First, we need to give our students practice in how to measure things using a ruler. Then we should give them practice with how to weigh things on various types of scales. These two things lend themselves naturally to some great hands-on lessons! Who doesn’t love measuring and weighing classroom objects!
Teach students different types of quantitative measurements:
Height
Width
Weight/Mass
Number of specific parts (ie 2 eyes, 8 petals, 4 leaves, etc)
Labeling the Diagram

Now that our students know what kinds of things we should be observing for our scientific diagram, it’s time to start creating diagrams. Together, label an example and a non-example of the same object. This is a great way to teach students expectations for when they create their own diagrams.
Next, have students practice their observation skills. They can create diagrams of classroom objects and toys!
Science provides so many opportunities to create diagrams. Let’s set our students up for success by teaching them how to properly create and label these diagrams. Their upper grade teachers will be impressed when they come to class already having had ample practice with the concept!
